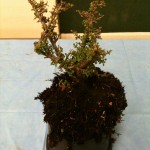
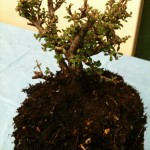
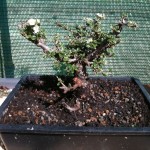
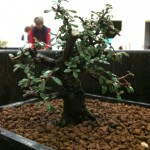
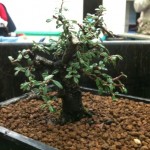
Here are some images of the before and after from April 2011 of the £2.00 Cotoneaster that we bought at Warminster Bonsai Club night and how its developing.
Read more>>>
So from original garden centre material to a bonsai in progress in a year all for just £2.00
At the April workshop in 2011 I selected one of the Cotoneasters available and started initially by exposing the lower trunk to find a great trunk flare hidden below the soil line. I then carried out a full re-pot of the Cotoneaster that I bought and removed around 30% of the root area of the original tree and potted it up in a shallow rectangular tray.
During the re-pot, I cut back the roots and removed large unwanted roots to aid with the development of a fibrous root system, I also removed the twin trunk to leave one main trunk.
I potted the tree in a soil mix of compost and grit initially as it came in a compost mix. I also at the same time reduced down the branches back to around 3 inches all round to compensate for the root reduction.
So the root pruning and branch pruning was done and it was not unduly affected by this as it then went on to flower in May and has little white flowers.
This March, I re-potted it again to see how the fibrous roots are developing and decided to place the tree now in the same shallow tray but now in akadama as this will aid with the fibrous root development that has already started.
I trimmed the new roots that had now formed and also have reduced some of the larger branches back further to encourage new branches that are more in keeping with the size of the crown I am trying to develop.
So all in all, I am pleased so far with the years progress and it’s great value for money.
